
Ai Content Generator
Ai Picture
Tell Your Story


Ledger.com/Start: Your Ultimate Guide to Setting Up a Ledger Wallet
In the world of cryptocurrency, security is paramount. A hardware wallet like Ledger ensures that your digital assets remain safe from online threats. If you’ve recently purchased a Ledger device, the first step is to set it up properly through Ledger.com/Start. This guide walks you through the process and highlights essential security measures.
Step 1: Unbox Your Ledger Device
When you receive your Ledger hardware wallet, make sure the package is sealed and untampered. Inside, you’ll find:
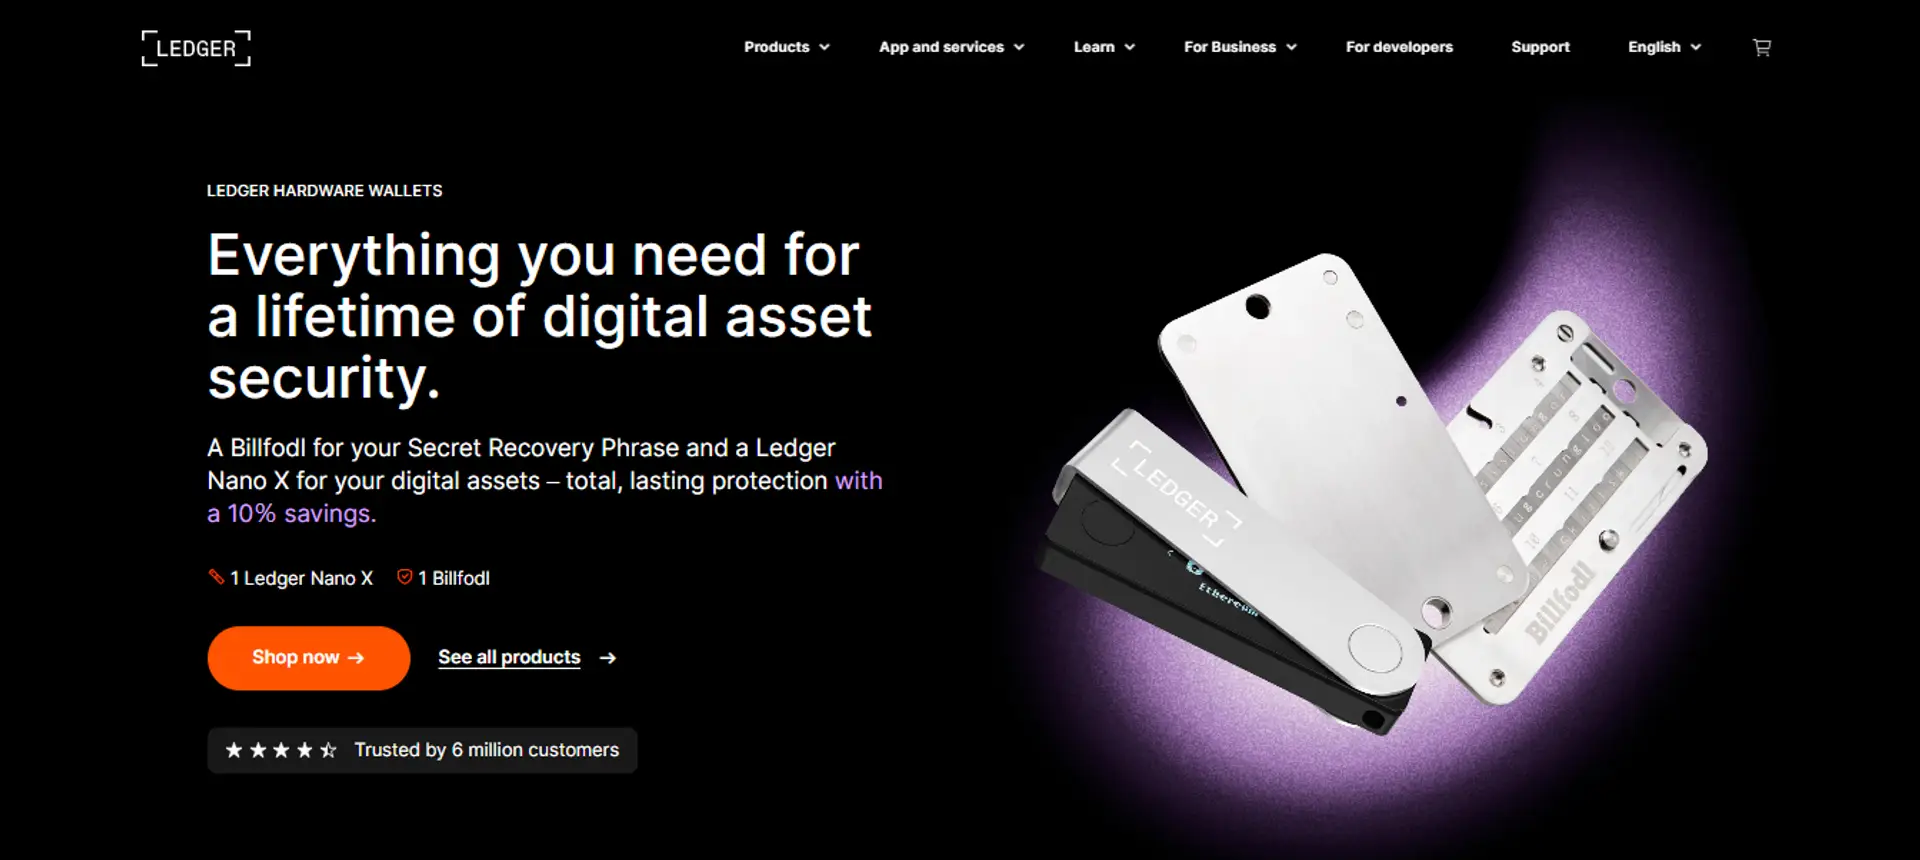
• The Ledger hardware wallet (Nano S Plus, Nano X, or another model)
• A USB cable
• Recovery phrase sheets
• A quick start guide
If any of these are missing or the package looks compromised, contact Ledger support before proceeding.
Step 2: Visit Ledger.com/Start
To ensure you’re downloading authentic software, visit Ledger.com/Start from a trusted browser. This official Ledger page provides the necessary setup instructions and access to Ledger Live, the official Ledger companion app. Download Ledger Live for your operating system (Windows, macOS, Linux, iOS, or Android).
Step 3: Install and Set Up Ledger Live
Once Ledger Live is installed:
- Open the application and select “Get Started.”
- Choose your Ledger device model.
- Follow the on-screen instructions to initialize your device.
- Step 4: Initialize Your Ledger Wallet
- Connect Your Ledger – Use the USB cable to connect your Ledger device to your computer or mobile phone.
- Set Up a PIN Code – Choose a strong PIN code on your device to prevent unauthorized access.
- Write Down Your Recovery Phrase – The Ledger device will generate a 24-word recovery phrase. This is crucial for recovering your wallet in case your device is lost or damaged. Write it down on the provided sheets and store it securely offline. Never share it with anyone.
Step 5: Install Apps and Manage Cryptocurrencies
After setting up your Ledger, you can install cryptocurrency apps via Ledger Live:
• Go to Manager in Ledger Live.
• Install the required cryptocurrency apps (e.g., Bitcoin, Ethereum, etc.).
• Create accounts and start receiving, sending, or storing your assets securely.
Step 6: Secure Your Ledger Device
For maximum security:
• Always verify transaction details on your Ledger device before confirming.
• Enable passphrase protection for added security.
• Regularly update Ledger Live and your device firmware.
• Store your recovery phrase in a safe place and never share it online.
Conclusion
Setting up your Ledger wallet via Ledger.com/Start is an essential step in securing your cryptocurrency holdings. By following the proper setup process and best security practices, you can ensure your assets remain protected from hackers and malicious threats. Stay updated with Ledger’s official channels for the latest security updates and features.
Ready to start? Visit Ledger.com/Start today and take control of your crypto security!
Related Posts
© 2025 Invastor. All Rights Reserved
User Comments