
Ai Content Generator
Ai Picture
Tell Your Story

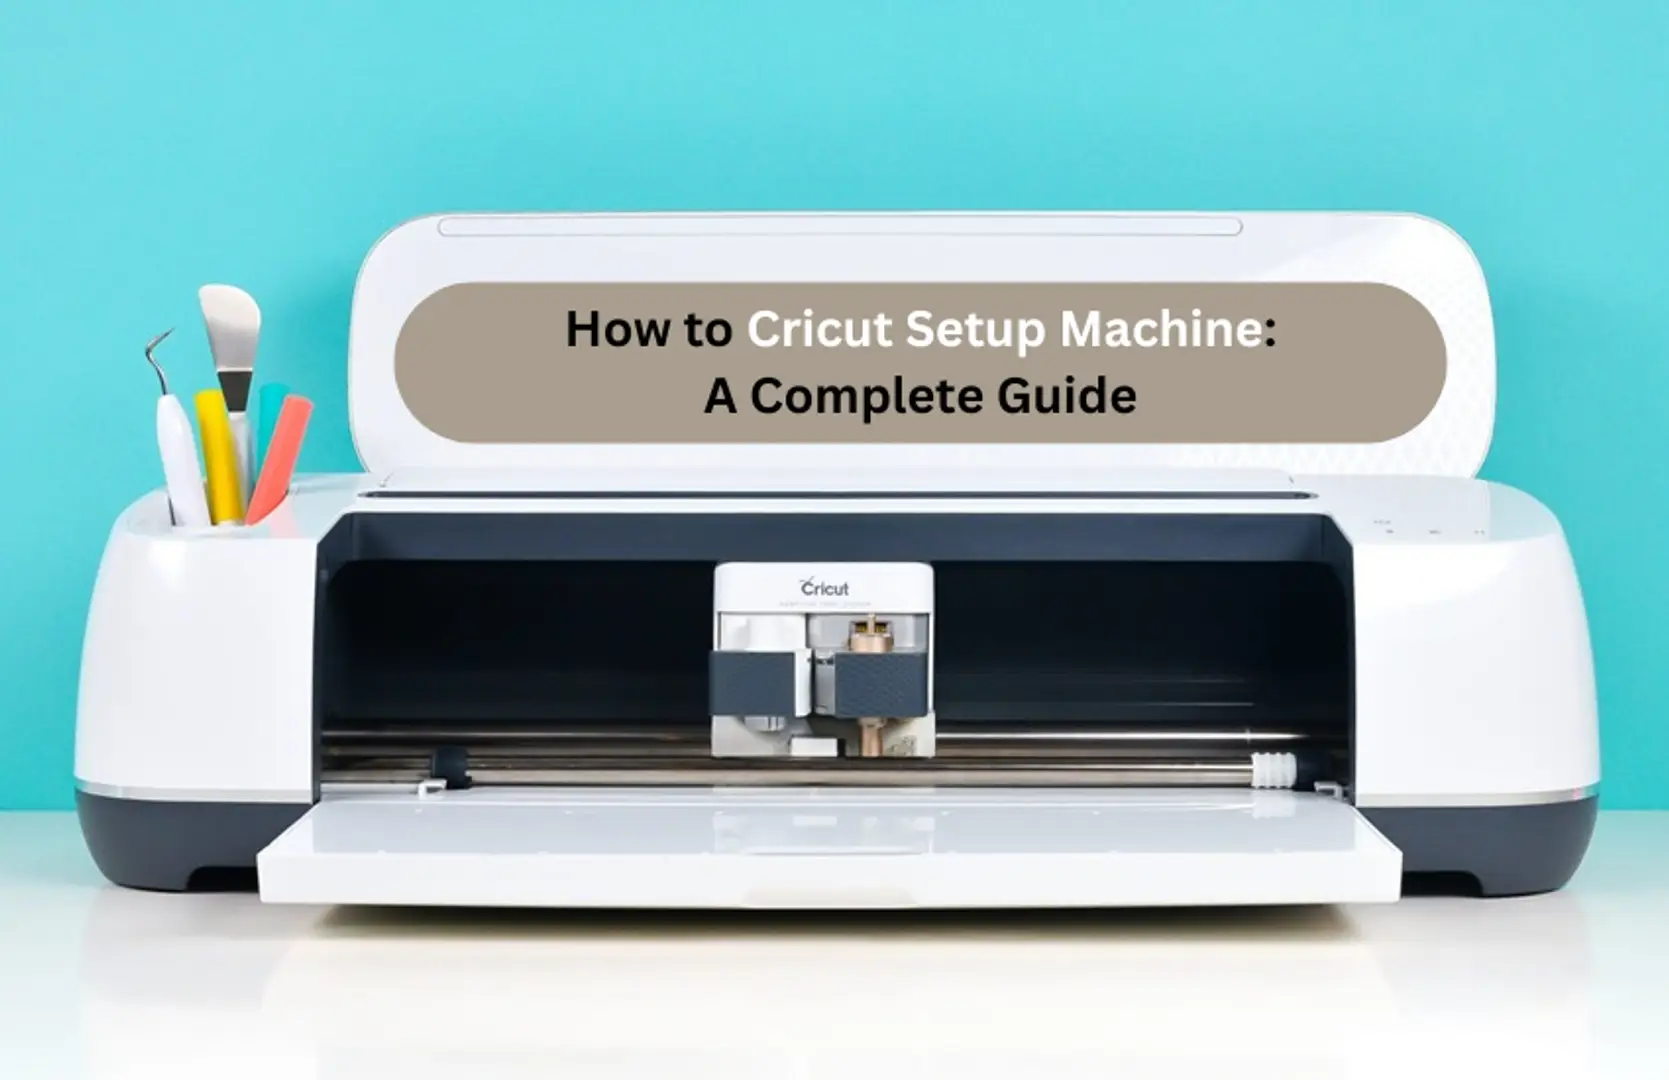
How to Cricut Setup Machine: A Complete Guide
Setting up your Cricut machine is a simple process that begins with registering the device and connecting it to your desktop or smartphone either via USB or Bluetooth. This connection is essential for Design Space to recognize and communicate with your machine. Once set up, it unlocks your full creative potential, allowing you to design, cut, and bring your projects to life with ease. In this blog, I will show you how to Cricut setup machine on Windows and Android/iOS devices. So, without any further delay, let’s get started.
Steps to Setup Cricut Machine on Windows
If you want to set up your machine through Windows, follow these steps carefully:
Step 1: Power on your crafting machine and ensure it’s within 10-15 feet of your computer for a stable connection.
Step 2: Go to cricut.com/setup.
Step 3: Download the Design Space app on your device.
Step 4: Once it is successfully installed, open Design Space and then click on your account or profile.
Step 5: Then navigate to Settings and click on the Machines tab.
Step 6: Next, select the Start button beside the New Product setup option.
Step 7: Now, simply click on your machine model from the options available.
Step 8: After that, the app will guide you through the basic setup process.
Step 9: Choose your connection type, either USB or Bluetooth.
Method 1: With Bluetooth
If your Cricut machine supports Bluetooth, follow the steps below to pair it wirelessly.
- Turn on Bluetooth on both your computer and your crafting machine.
- On your computer, go to Settings.
- On the following screen, click on the Devices section.
- Now, click on Bluetooth & other devices.
- Next, select “Add Bluetooth & other devices” and choose “Bluetooth.”
- Wait for your computer to detect your machine.
- Find your machine model within the list and click on it.
- If a PIN is required, it’s usually 0000. Enter the PIN and click Connect.
- Once paired, your machine model will appear in the list of connected Bluetooth devices.
- Now open Design Space and start your first project.
Method 2: Through a USB Cable
Using a USB cable is one of the easiest ways to connect your Cricut machine.
- Power on your machine.
- Plug one square-shaped end of the USB cable into the machine and the other rectangular end into your computer’s USB port.
And that’s it, you’re done here. Your machine will now be successfully connected to your computer.
How to Cricut Setup Machine on Android/iOS Devices?
This section will guide you through setting up your machine using your mobile device, whether it’s an Android or iOS device.
Step 1: First of all, plug your machine into the power outlet and then turn it on.
Step 2: Now, it’s time to connect your mobile device to the machine via Bluetooth.
Step 3: Go to your respective App Store and download the Design Space app.
Step 4: Tap the Install or Get button and follow the steps displayed on your screen to install the app.
Step 5: Once you’re done with installation, open the application.
Step 6: After opening the application, click on the Sign in button if you have an existing ID. If not, create a new one using design.cricut.com/setup.
Step 7: Enter your credentials, like username and password, correctly.
Step 8: Next, click on the menu icon and press the Machine Setup button.
Now, your machine is ready for crafting projects.
Common Cricut Setup Problems and Fixes
It’s totally possible that you may face the following issues while setting up your machine for the very first time. You can review these problems along with their solutions to easily fix them.
Issue 1: Machine Not Turning On
- Make sure that your crafting machine’s plug is properly inserted into an electrical outlet and that the power cord is firmly attached to the outlet and your machine.
- Ensure you are using the power adaptor and cord that came with the machine.
- Try connecting the machine to a different outlet to eliminate any issues with the original outlet.
Issue 2: Bluetooth Not Connecting
- Turn off both your computer and mobile device, as well as the Cricut machine.
- Restart them and try reconnecting again.
- Go to your device’s Bluetooth settings, find the machine model in the list of paired devices, and select Forget or Unpair. Then, turn the machine back on and try to pair it again.
- Ensure there are no physical obstructions between the machine and your device that might interfere with the Bluetooth signal.
- Make sure both Design Space and the machine’s firmware are up to date.
- If Bluetooth continues to be an issue, try using a USB cable to connect the machine to your computer.
Issue 3: Software Is Stuck on Loading
- Close the Design Space application and reopen it.
- Sometimes, a full system restart can resolve software glitches.
- Make sure you have the latest version of Design Space installed.
- Ensure your Cricut machine’s firmware is up to date.
Frequently Asked Questions
Why is my Cricut not connecting with USB?
If your machine is not connecting via USB, follow the steps mentioned below:
- Ensure the USB cable is properly plugged into both the crafting machine and your computer.
- Try a different cable if available.
- Use a different USB port on your computer to rule out a faulty port.
- Turn off both the machine and your computer, unplug them, wait a few minutes, then plug them back in and turn them on again.
Does a Cricut need to be connected to a computer?
For most machines, you’ll need a computer or mobile device to download, install, and set up Design Space and register your machine so that you can operate and access the Design Space software. You will use this software from your computer or your mobile device to create, customize, and upload your designs and then cut them by sending a command to the Cricut machine. While a mobile device is also compatible, users find it easier to work with the full functionality of Design Space on a computer.
Why won’t my Cricut machine set up properly?
A Cricut that won’t be set up can be due to various reasons, including problems with the initial connection to Design Space, firmware updates, or issues with the machine itself. To troubleshoot, follow these steps:
- Start by checking the power connection and then ensure that your machine is connected properly to your device, whether it’s a Windows, Mac, or mobile device, via USB or Bluetooth.
- Your internet connection should be stable, and Design Space should be up to date.
- Try restarting your computer.
- Update the Cricut firmware or check for any software conflicts.
What do I need before I start setting up my Cricut machine?
Before you learn how to Cricut setup machine, you will need the following supplies:
- Cricut machine
- A compatible device, either Windows/Mac or a mobile device.
- The latest Design Space software is installed on your operating system.
- Power cord
- USB cord
- Internet access
Do I need an account to set up my Cricut machine?
When you first set up your machine, you’ll be prompted to create a Cricut ID (which is your email address) and a password. As part of the setup process, your machine is automatically registered to your account. You’ll need to use the Design Space app (available for desktop and mobile) to design and cut with your machine. This app requires you to sign in with your Cricut ID.
Source: How to Cricut Setup Machine
Related Posts
© 2025 Invastor. All Rights Reserved
User Comments